Helical antennas are among some of the simplest antennas to build. All that is required is a wire for the element and some sort of flat metalic reflector. A non conductive former like cardboard or plastic or some other form of support to hold the element in place.
The rule for helical antennas basically simplifies down to these rules.
The diameter of the element is 1/3 of a wavelength. For 2.5GHz this is about 40mm.
The spacing between turns is 1/4 of a wavelength. For 2.5GHz this is about 30mm.
Helical antennas are CIRCULAR polarisation. They are both horizont and vertical polarisation, but 90 degrees out of phase from each other.
Circular polarised antennas are 100% compatible with linear polarised antennas. A circular polarised will receive both horizontal and vertical at the same time. Likewise, Both polarity linear antennas will receive signals that are both LHCP (Left Hand Circular Polarised) and RHCP (Right Hand Circular Polarised).
Where as linear antennas have about 20db isolation between polarities, circular polarisation has about 30db between polarities.
Circular polarisation also has some other advantages. The polarity is not orientation dependant. This means that you can rotate the antenna on it's axis in the direction it is pointing and it will always be the same polarisation. This is ideal for satellites, as long as the antenna is pointed at its target, it does not matter how the spacecraft is orientated. It saves on a bit of fuel. For terrestrial communications it is useful as L,S,C band often suffer from polarity shifts, where horizontal polarity is shifted to vertical polarity by something in the atmosphere. A 90 degree phase shift of circular polarisation is still circular in the same polarity.
When a circular polarised signal is reflected, it's polarity changes ! RHCP becomes LHCP. This is very helpful if you want to try eliminate (odd numbered) reflections. Or, you could apply the reverse, where you only want to see the reflected signal, like in radar or bouncing the signal of some intermediate object.
To construct a helical antenna take your former and make out 1/4 wavelength spaces up the length of the tube. You might also consider doing it on the other side of the tube, but add an extra 1/8th of a wavelength to get the turns phasing correct.
I use tape to hold my wire element in place at first and then glue it in perminantly with 5 minute epoxy. If you are starting at the place where the conector is and winding outwards. If the sprial winds out clockwise it is RHCP, it it winds out anti-clockwise, then it will be LHCP.
Once you have reached the end of the former, cut off the remaining wire and glue the lot into place. Attach the coax connector core to the element. The shield of the coax connects to the reflector. I prefer to mount my connector onto the reflector directly, then attaching the former and soldering the wire element to the center conductor.
The antenna should not require tuning if everything is close to the mark, these antennas are quite broadband. If you do still have problems, you can try and solder a thicker piece of wire in the first 3cm of the helix to act as a matching stub. If this fails to work, you might like to consider a gamma match, though I have never personally had to go that far.

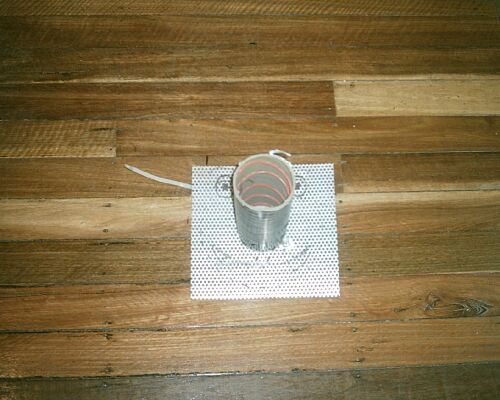
This antenna is Right Hand Circular Polarised
BACK